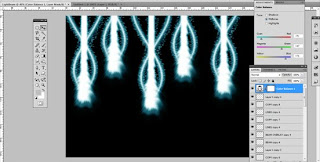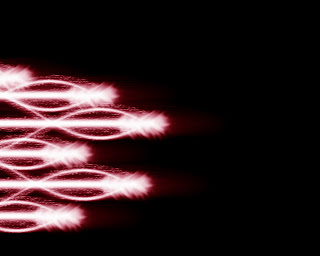
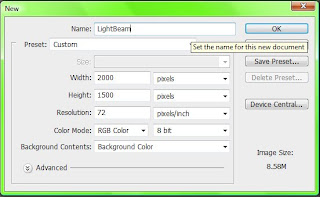
The First Step: Open a new photoshop document, something like 2000px by 1500px. With a black background.
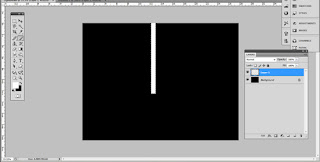
Step Two: Use the rectangle tool (on a new layer) and make a skinny but long rectangle bleeding off the page. Paint in with white.
Step Three: add a gaussian blur filter to blur the rectangle. and then use the smudge tool to make a water droplet shape at the bottom of the rectangle.(Turn smudge strength down to 15-30%)
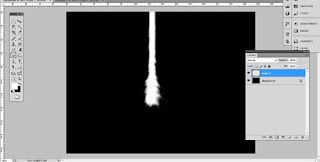
Step Four: Douplicate the previous layer and then use the smudge tool again to push the droplet out farther, then turn the opacity down to your liking to give it that glow.
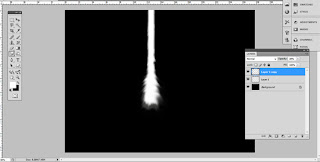
Step Five: now we are going to make the swirls that go around the beam. Create a new layer, use the eclipse tool to create a very thin, but as long as the beam. Fill them with white.
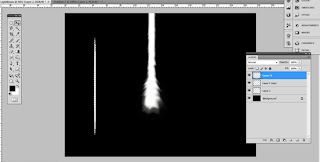
Step Six: this is where you can get crazy.First deselct the eclipse. While selecting the new layer go to filter > Distort > Shear.
Now out of the line make something like an S, or you can experiment, then mix it into the beam, and duplicate the line, flip it, and use it for the other side, like so
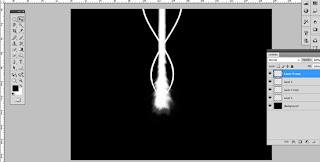
Step Seven: now we want to blur those two lines, use the gaussian blur on both layers equally.. then make copies of both the lines and add a motion blur to one of the copies.
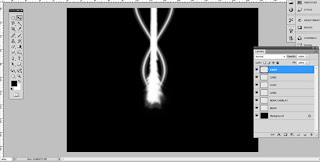
Step Eight: here we will add sparkles, dust, magical crap. You can either just use a small brush, or find a brush to add in the dots surrounding the beam and the lines.. Then we want to add motion blur to it, but a slight one.
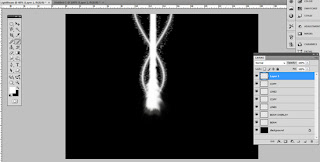
Step FINAL: now you can use colour balance to change colour, as well you can make duplicates and fill your page with RAINING ENERGY BEAMS!
